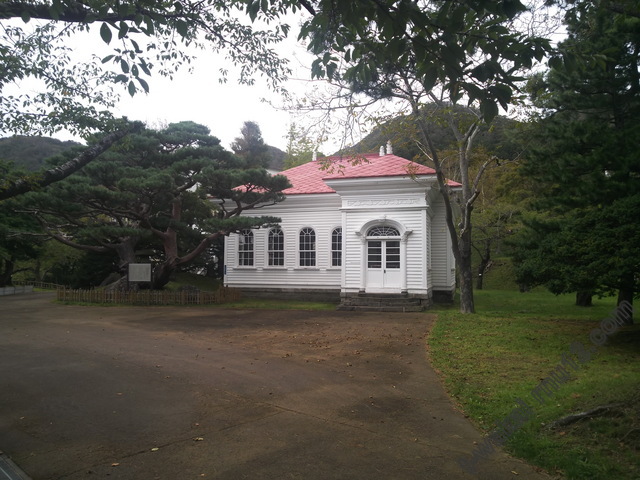
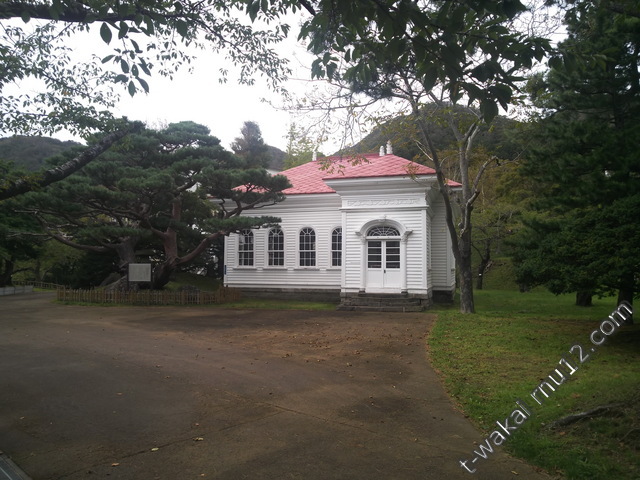
とりあえず、以下のようにスクリプトを変更してみた。
function fck_resize_by_imagemagick($new_filefullpath)
{
$max_width = 640 ;
$max_height = 640 ;
$image_stats = getimagesize($new_filefullpath) ;
if ($image_stats[0] > $max_width || $image_stats[1] > $max_height) {
exec("mogrify -geometry {$max_width}x{$max_height} $new_filefullpath") ;
}
exec("composite -gravity southeast -compose over /var/www/html/uploads/fckeditor/watermark.png $new_filefullpath $new_filefullpath") ;
}
まず、watermarkのファイルへのアクセス権がなかったです。
$ chmod a+r watermark.png
まず、watermarkのファイルへのアクセス権がなかったです。
$ chmod a+r watermark.png
これだけでよかった様子。
あとは、汎用性を持たせるために、以下のように変更。
function fck_resize_by_imagemagick($new_filefullpath)
{
$max_width = 640 ;
$max_height = 640 ;
$watermark_file_path = sprintf("%s%s",XOOPS_UPLOAD_PATH, "/fckeditor/watermark.png");
$image_stats = getimagesize($new_filefullpath) ;
if ($image_stats[0] > $max_width || $image_stats[1] > $max_height) {
exec("mogrify -geometry {$max_width}x{$max_height} $new_filefullpath") ;
}
exec("composite -gravity southeast -compose over $watermark_file_path $new_filefullpath $new_filefullpath") ;
}

うまくいったね。すばらしい。
ちょっと、watermarkの画像を修正。

よくなった。
最初にwatermarkを手動で入れるのはたいした手間ではないと言ったな。
あれは、嘘だ。
自動ではいるとすごく楽なのです。
投票数:11
平均点:10.00
|
181016 自動的にWatermark、その2 |
WEBサーバー構築 |
181109 サーバー更新 |